Collecting user data is a hassle if you don’t own a database, or want to skip the backend. Let’s make forms that are easy to embed in your website through NoCodeAPI.
Requirements

- Airtable API in NoCodeAPI — Click here to make one if you haven’t yet.
- Basic understanding of React
Mission
We are going to make 3 x forms that make a POST call to your Airtable NoCodeAPI endpoint. We want our data in one Airtable base.
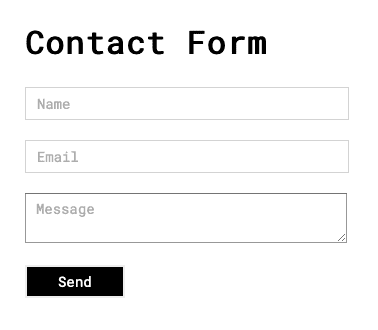
- Contact Form
- Feedback Form
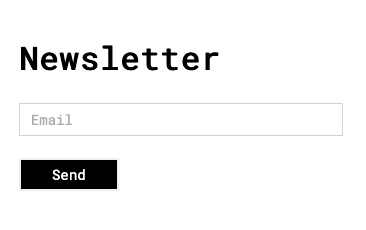
- Newsletter
Step 1a: Make your Contact Form

import React, { useState } from "react"

export default function Contact() {
    const [formData, setFormData] = useState({})
    const [message, setMessage] = useState("")

    const handleInput = (e) => {
        const copyFormData = { ...formData }
        copyFormData[e.target.name] = e.target.value
        setFormData(copyFormData)
    }

    const sendData = async (e) => {
        e.preventDefault()
        try {
            const response = await fetch(
                "<your_airtable_nocodeapi_endpoiint>?tableName=contact",
                {
                    method: "post",
                    body: JSON.stringify([formData]),
                    headers: {
                        "Content-Type": "application/json",
                    },
                }
            )
            const json = await response.json()
            console.log("Success:", JSON.stringify(json))
            setMessage("Success")
        } catch (error) {
            console.error("Error:", error)
            setMessage("Error")
        }
    }

    return (
        <div className="App">
            <form
                className="input-form"
                id="contact"
                name="contact"
                required
                onSubmit={sendData}
            >
                <input
                    name="name" // name should matched with your airtable table field
                    type="text"
                    placeholder="Name"
                    required
                    onChange={handleInput}
                />
                <input
                    name="email" // name should matched with your airtable table field
                    type="email"
                    placeholder="Email"
                    required
                    onChange={handleInput}
                />
                <textarea
                    name="message" // name should matched with your airtable table field
                    placeholder="Message"
                    onChange={handleInput}
                />
                <input name="submit" type="submit" value="Send" />
                {message}
            </form>
        </div>
    )
}
Step 1c : Make your Newsletter Form

import React, { useState } from "react"

export default function Newsletter() {
    const [formData, setFormData] = useState({})
    const [message, setMessage] = useState("")

    const handleInput = (e) => {
        const copyFormData = { ...formData }
        copyFormData[e.target.name] = e.target.value
        setFormData(copyFormData)
    }

    const sendData = async (e) => {
        e.preventDefault()
        try {
            const response = await fetch(
                "<your_airtable_nocodeapi_endpoiint>?tableName=newsletter",
                {
                    method: "post",
                    body: JSON.stringify([formData]),
                    headers: {
                        "Content-Type": "application/json",
                    },
                }
            )
            const json = await response.json()
            console.log("Success:", JSON.stringify(json))
            setMessage(json.message)
        } catch (error) {
            console.error("Error:", error)
            setMessage("Error")
        }
    }

    return (
        <div className="App">
            <form
                className="input-form"
                id="contact"
                name="contact"
                onSubmit={sendData}
            >
                <input
                    name="email"
                    type="email"
                    placeholder="Email"
                    onChange={handleInput}
                />
                <input name="submit" type="submit" value="Send" />
                {message}
            </form>
        </div>
    )
}
Step 2: Update NoCodeAPI endpoints
- Sign in to your NoCodeAPI dashboard
- Find Airtable API endpoint in your dashboard
- Update
nocodeapi_endpointpart in all 3 x forms with your nocodeapi/Airtable endpoint.
This is it
You can see these forms working on codesandbox.
Feel free to contact us if finding any issues. Thank you for reading.
